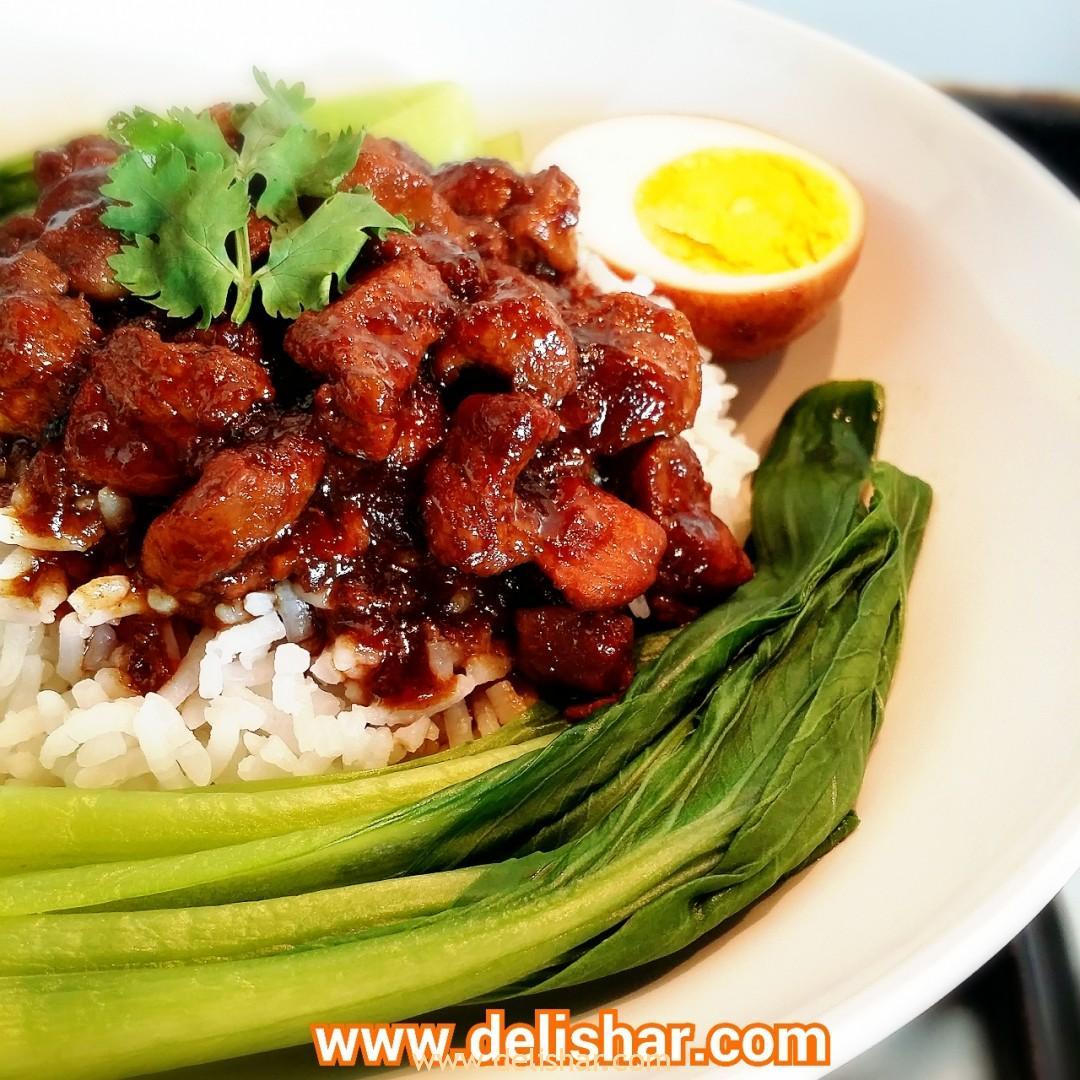
When the kids ask for second serving, you know it is good. Even I went for seconds too, and I was so glad to have left over so I get to eat it for lunch the next day! Yay! I can’t rave enough how much I love this… the pork was braised till it was tender and that sauce… yuuuuummmmmm! I’m salivating really badly as I write this. I might just have to make it again tomorrow!
If you have never tried Taiwanese braised pork in your life, I urge you to try this recipe. Some people make it with pork belly, but I personally thought it was a little too fatty, another option is to make it with minced pork. Which is the meat of choice the next time I make this. I chose pork shoulders because I wanted to be able to taste the little pieces of meat. I think minced meat will melt away in my mouth after all that braising, which may not be a bad thing too! Anyhow, please make this and make it soon okay? I promise, you are going to like it 🙂
Don’t forget to take part in the Chinese New Year 2016 S$500 Paypal Cash Giveaway! Click to go to GIVEAWAY PAGE and complete the rafflecopter widget at the end of the post!

Ingredients
Method
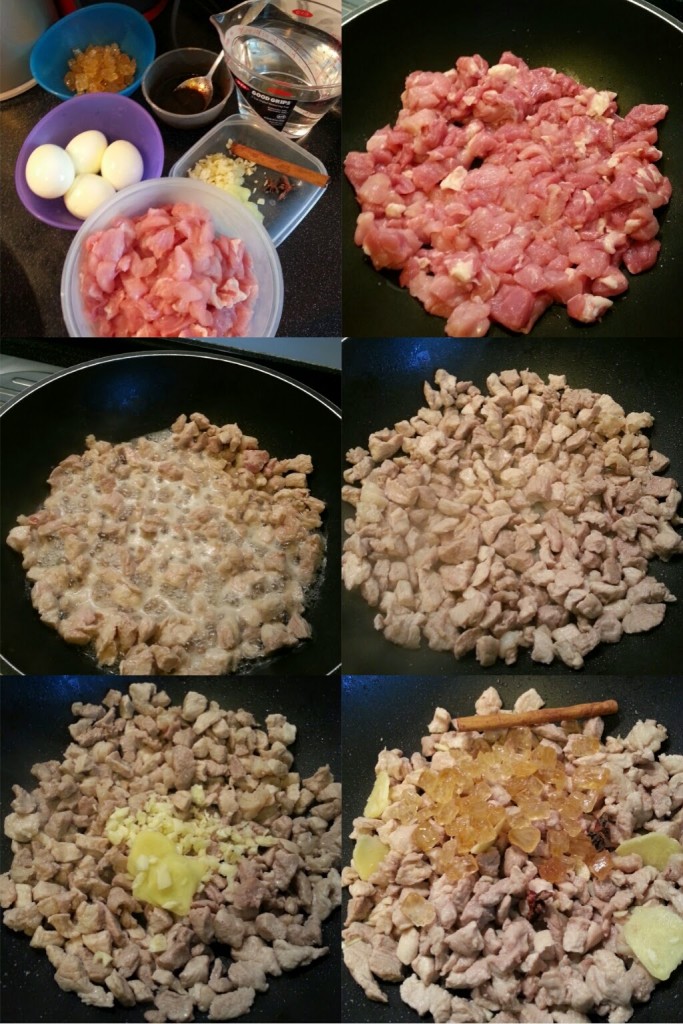
- Heat wok on med high with 1 tbsp oil.
- Cook pork until no longer pink, and allow the juices to cook until dry.
- Add garlic, and ginger slices.
- Stir-fry for a minute.
- Add rock sugar, cinnamon, and star anise.
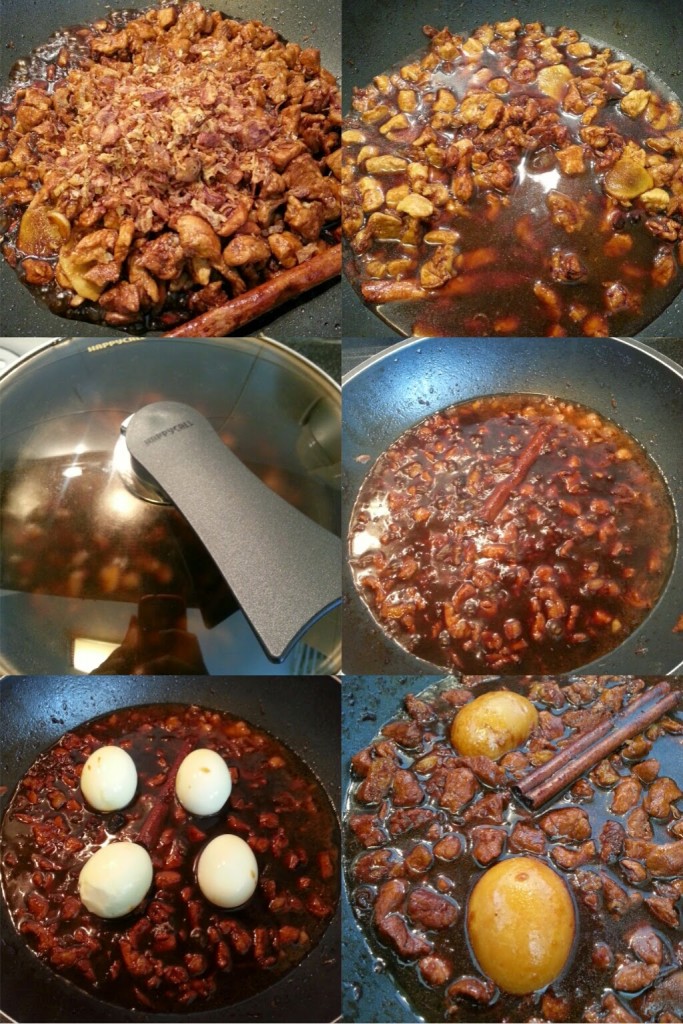
- Then add wine, dark soy sauce, 5 spice powder, and toss to coat meat.
- Pour in fried shallots, 2 cups water, bring to boil and lower heat to medium.
- Cover and allow to cook for 20 minutes.
- Add your eggs into the meat and sauce.
- Cover and allow to cook for 10 minutes.
- Turn the egg to make sure sauce coats the egg.
- Cover and cook for another 10 mins or until sauce thickens.
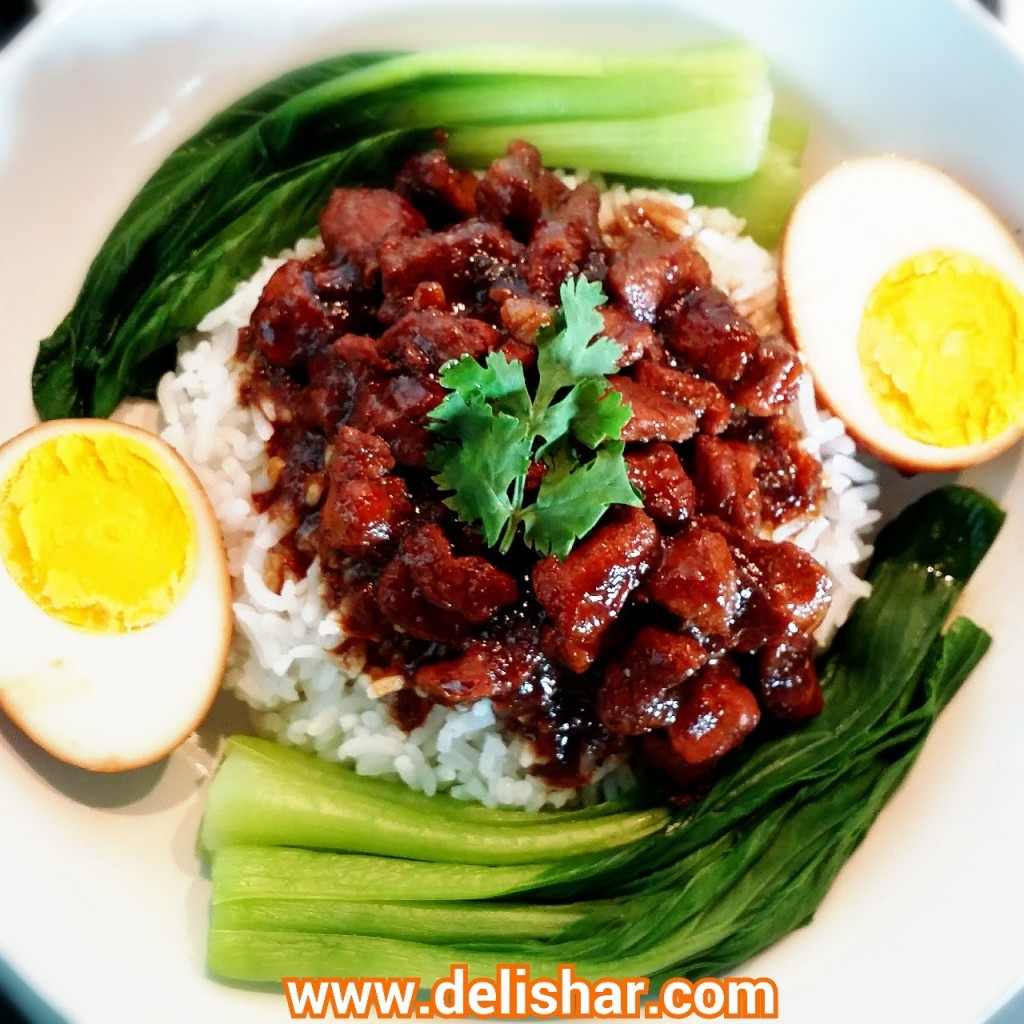
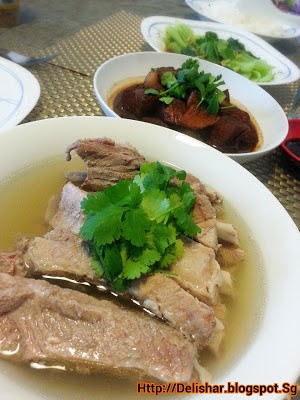
- Serve over steamed white rice with egg and xiao bai cai.
- Garnish with chopped chinese parsley.
Notes
Adapted from Yummly




8 Comments
Zoe
13 November, 2014 at 4:23 amHi Shar Kay,
This braised pork rice look deeply infused with flavours! 2nd serving??? I will need more than two!!! :p
Zoe
Chan May Li
28 January, 2016 at 5:03 amYour braised pork dish looks so yummy.
Grace
26 February, 2016 at 2:33 pmHi Sharon,
This dish really makes me drool just by looking at the picture n I m so tempted to make it now!!!
I hv some pork shin meat in my fridge. Will that do or I need to use shoulder meat?
Thank u!
Sharon Lam
26 February, 2016 at 8:45 pmThank you, Grace! I usually use shoulder or minced meat as I want my pork to be tender. But I dont see why you cant use other cuts.
Elyn teo
28 November, 2016 at 8:45 amHi Sharon, I cooked this fish last night. Very nice and the taste very close to the original.. 😋 thank you for sharing and I love your posts.. Easy to follow and cook. Thanks again … 感恩♥
Sharon Lam
28 November, 2016 at 7:24 pmHi Elyn! I just made this again 2 days ago too. Great minds! Thank you for the wonderful feedback, and I’m really glad you enjoyed it. 🙂
Janet Low
30 November, 2016 at 2:47 pmHi Sharon,
I am cooking again for tonight’s dinner. Second time cooking this. Very yummy indeed. Thank you for sharing your recipe. 😋😘
Janet
Sharon Lam
1 December, 2016 at 5:02 pmSo happy that you are enjoying this! Most welcome, Janet! 😀